You don’t even know how much you’ve spent… until I showed you this trick
Support thks : https://www.paypal.me/haotech….
Limited Time Free!
這款 App 名為 Subscriptions Tracker - SPARKY,它的主要功能是幫助使用者管理和追蹤訂閱服務的支出。以下是它的主要用途與特色:
主要功能:
-
訂閱管理: 使用者可以手動輸入各種訂閱服務(如 Netflix、Spotify、iCloud、YouTube Premium 等),並設定每月費用、到期日、付款週期等。
-
支出追蹤: 應用會計算每月或每年的訂閱總費用,讓使用者清楚知道自己在訂閱上的花費。
-
通知提醒: 在訂閱即將到期或扣款之前,會提前提醒使用者,避免忘記取消導致被自動續訂。
-
多幣別支持: 支援多種貨幣,適合有國際訂閱需求的使用者。
-
簡潔易用的介面: 界面設計現代、直觀,便於快速輸入與瀏覽所有訂閱。
適合誰使用?
- 有多個 App、影音、雲端等訂閱服務的人。
- 想要控制開支、避免忘記取消訂閱的人。
- 希望對個人財務進行細緻規劃的用戶。
The app is called Subscriptions Tracker – SPARKY, and its main purpose is to help users manage and track expenses related to subscription services. Here are its main uses and features:
⸻
Key Features:
-
Subscription Management: Users can manually input various subscription services (such as Netflix, Spotify, iCloud, YouTube Premium, etc.), and set monthly fees, renewal dates, billing cycles, and more.
-
Expense Tracking: The app calculates the total cost of subscriptions on a monthly or yearly basis, helping users clearly understand how much they’re spending.
-
Reminder Notifications: Users will receive advance reminders before a subscription expires or is charged, helping avoid unwanted automatic renewals.
-
Multi-Currency Support: Supports multiple currencies, making it suitable for users with international subscriptions.
-
Clean and User-Friendly Interface: Modern and intuitive design allows for quick entry and easy viewing of all subscriptions.
⸻
Who Is It For?
- Users with multiple app, media, or cloud service subscriptions.
- Those who want to control their expenses and avoid forgetting to cancel subscriptions.
- Anyone looking to better manage and plan their personal finances.
Direct Links
IF want Support Me :
NEW iPA :
I’ve noticed that not many people know about this trick. If your phone ends up on a blacklist or gets revoked, there’s a way to clear it without losing any data—as long as your device is running iOS versions between 15 and 18.2 beta2. I’ve tried it out, and honestly, it’s pretty slick.
What I like about it:
- No data loss at all—your info stays safe.
- It’s really fast and you just need to run a few lines of code.
- The process is straightforward if you follow the video guide step by step.
Downsides to keep in mind:
- It only works on some devices (iOS 15 up to iOS 18.2 beta2).
- You’ll need a computer to make it happen.
- A little bit of coding knowledge is necessary, so it might be a bit daunting if you’re not comfortable with that.
Overall, if your device qualifies, this method is a super convenient and quick fix. Just be sure to double-check that your iOS version is within range before giving it a go—and follow the instructions carefully to avoid any hiccups.
Subscribe tracker :
If you think my blog is good, give me a sopport, it’s cool, have a nice day!🤗
相關頁面
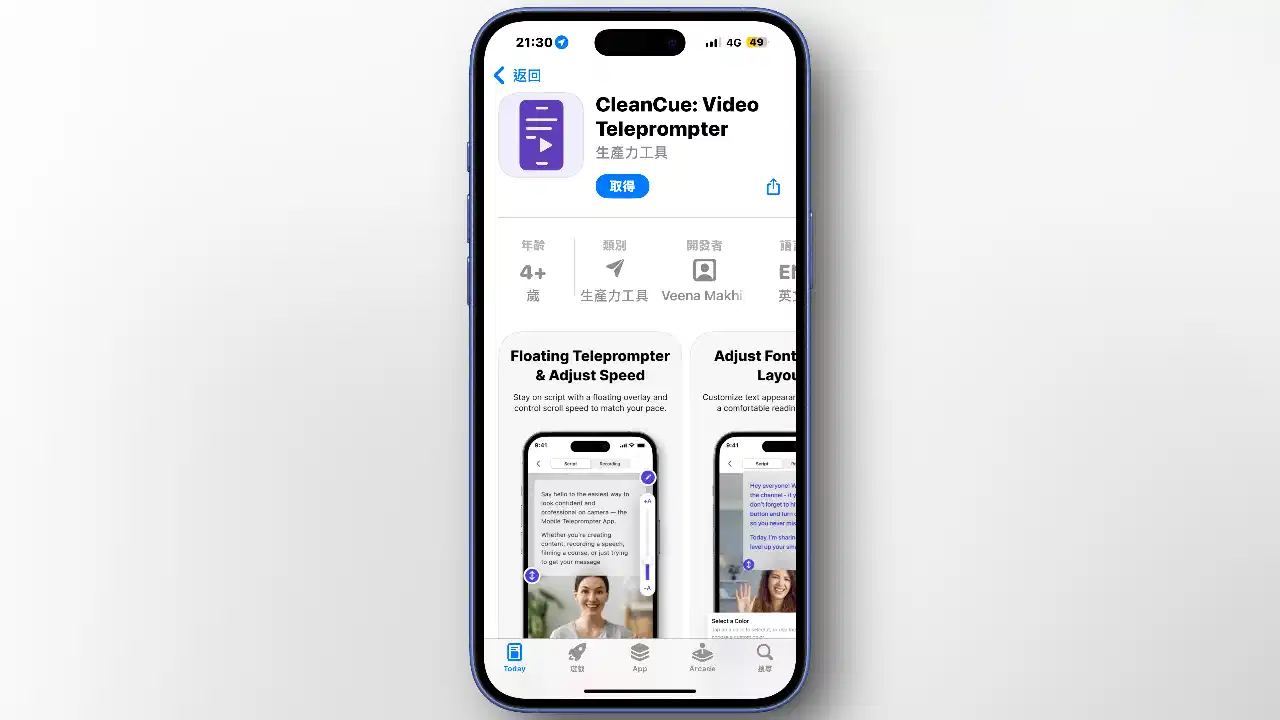
Record your video and never forget a word again!
Support thks 😭 : https://www.paypal.me/haotech….